How to repair leaky Fishing Waders
Sorry to break it to you.. but waders leak, hard to believe. Right?
If you spend any time using your waders you’ve likely hooked yourself a few times, maybe you stabbed yourself with fish’s dorsal spine or bushwhacked your way thru some brambles trying to get that thin blue line. But when you feel the drip, drip, drip, there’s no doubt you now have leaky waders. So you googled “How to fix leaky waders” and ended up here.
Below is a quick guide to find and fix that leak.
No garden hoses, air compressors, or soapy spray bottles needed.
While this is not the only method to repair leaky waders, it’s one I used. This process works best with access to a dark room, basement, garage, or walk-in closet in my case.
You will want to do identify all the holes you can before attempting any repairs. Once you apply the Aquaseal it takes 8-12 hours to cure on a flat surface, and you don’t want to keep searching for holes with wet Aquaseal applied.
List of Supplies
- Flashlight – Preferable a super bright flashlight
- Felt-tip marker
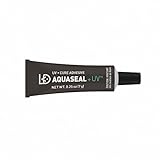
- Aquaseal +FD
While not necessary or possible with boot wader, turning the wader inside out does help. You will be applying the seal to the inside of your waders.
Identify the damage
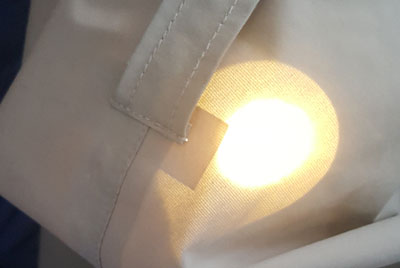
Turn on your flashlight run the flashlight along the inside.
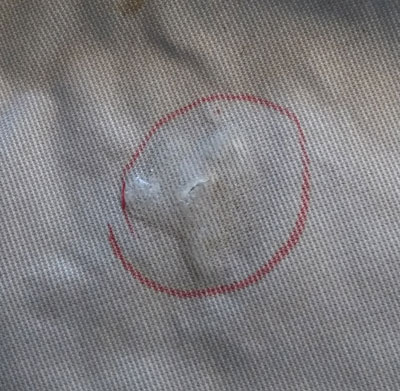
First, check the seams. Sitting, stretching, kneeling, all of would likely put stress on the seams. Keep an eye out for the bright spot.. gotcha! Mark it with a circle and move on.
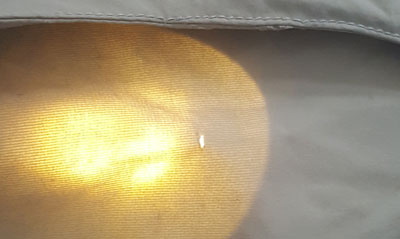
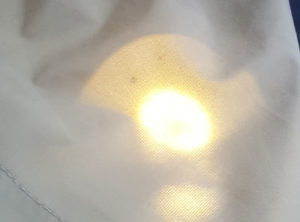
The hunt continues… working one leg at a time keep searching for those little bright spots.
After you completed marking all the little holes you found it’s time for some Aquaseal.
Leave the confines of your hiding spot, and find a flat surface where you can lay your waders out and not be move during the duration of the curing time of the Aquaseal.
Let’s play Bingo, work your way thru the circles, apply a little dot of Aquaseal right from the tube where needed and walk away, let it cure.

Once you have got the pinhole and seam repaired and allowed the AqeaSeal to cure, inspect where different materials overlap and change.
Neoprene to wader, Boot to neoprene etc.

A visible hole may not be present with the overlap of thicker material. Look for any yellowing old glue or areas that just don’t look right. Apply a fresh layer of sealant at the edges with the tiny brush that came with the kit and work it into the seams, again let it sit and cure.
After your all done, be sure to clean the threads of tube real good before putting the cap back on, you want to be able to reopen the tube later. Don’t be stingy use the AquaSeal, this may be the last time you open that tube without a scissor.
Hopefully, this was $10 – $15 well spent and you can enjoy a few more trips without springing a leak.


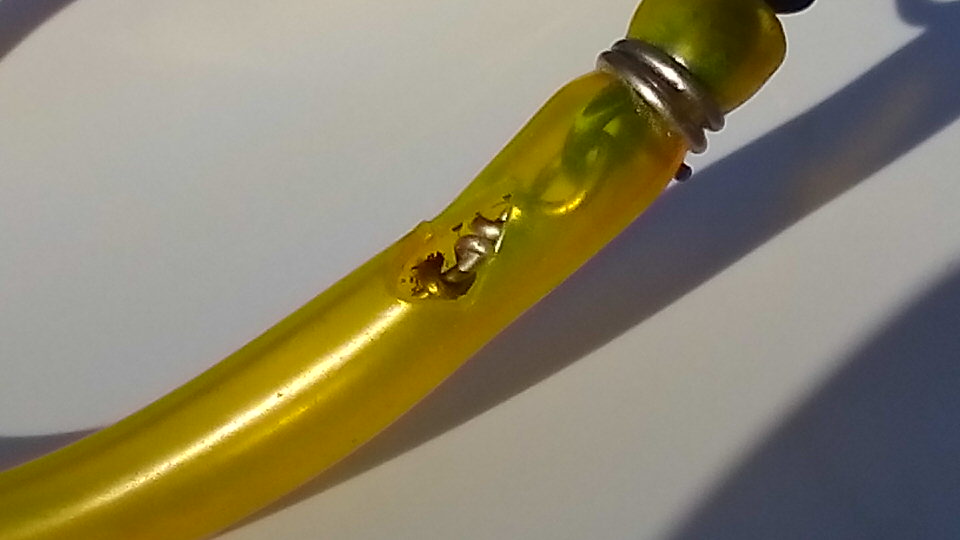
 will get you some cool UV colors.
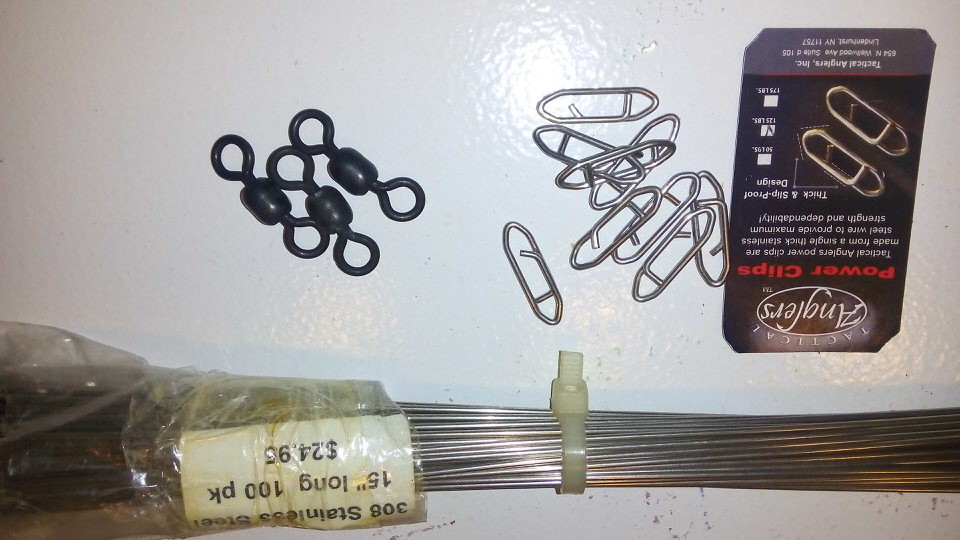
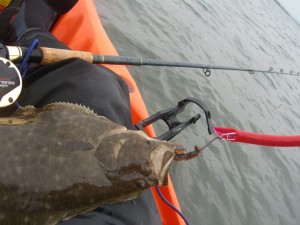
 the big one’s 175lb <- I can’t live without these things.

 or
or 


 and the list goes on….