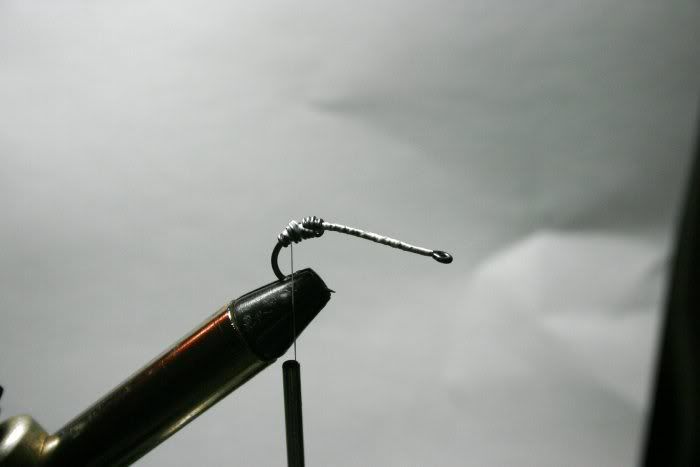
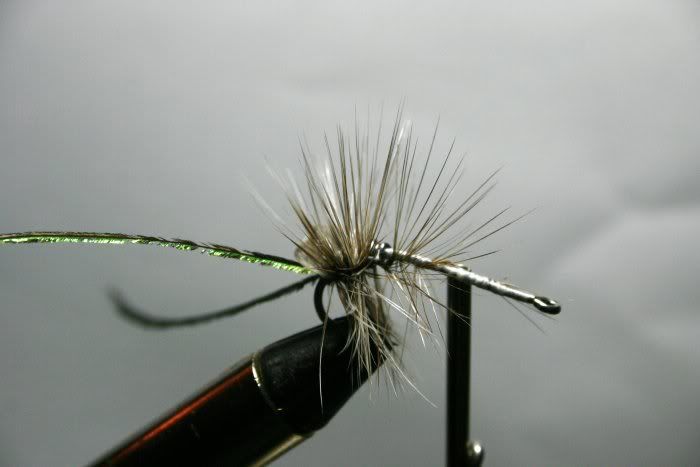
Put a slight bend in the hook as you would a bendback (I forgot and while shooting pictures and added the bend before the tail was added). Wrap the shank of the hook down to the bend and wrap some wire in to help the fly sink. Between the bend near the eye and the weight, this fly rides upright at all times.
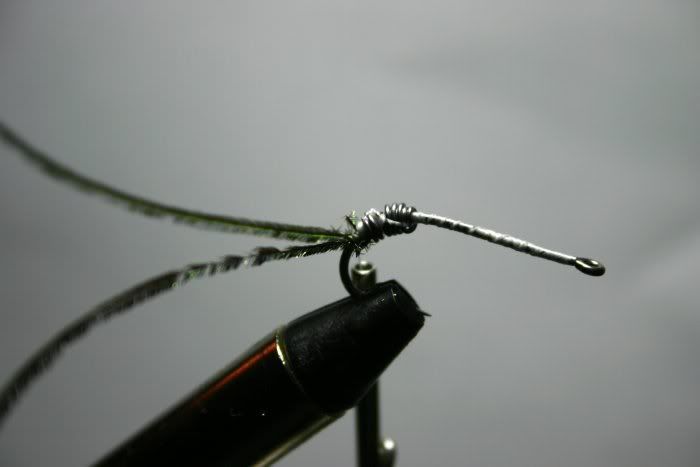
Step 2: Add antennas.
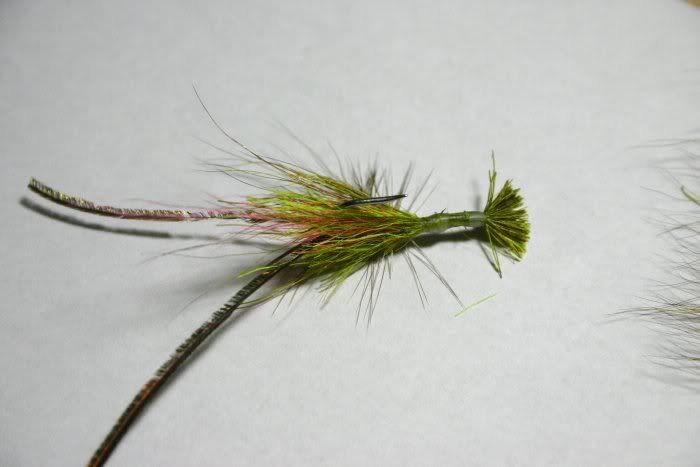
Step 3: Tie in a saddle hackle and palmer back towards the eye.
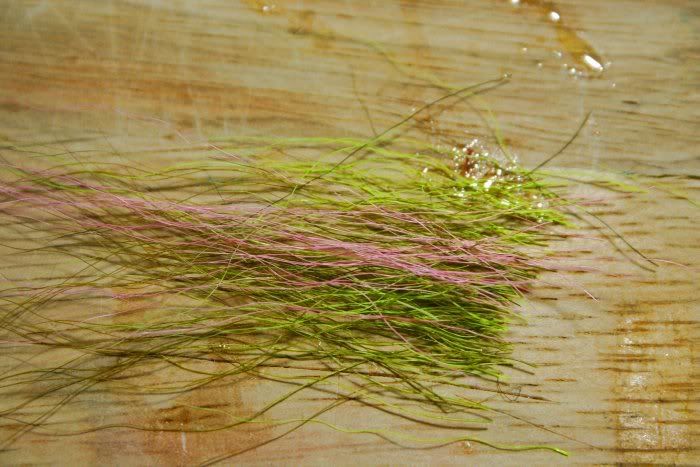
Step 4: Tie in some bucktail on top of the shank letting the ends extend past the hook. I like to mix colors for different shades. Before trimming excess, fold a few hairs forward to help add bulk to the head of the shrimp.
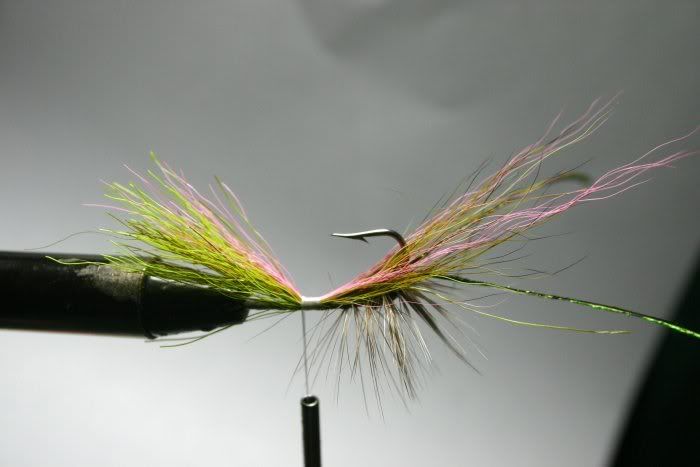
Step 5: Tie in more bucktail for the tail and wrap finish. Dab a drop of head cement on the tail to help stiffen it up. Trim into shape. A little epoxy can be added to tail for more rigidity later.
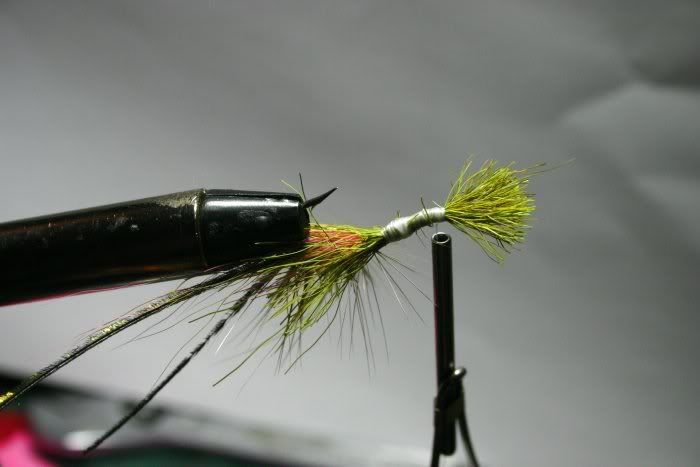
Step 6: Trim it up and it is ready for epoxy. I add mono eyes at time of epoxy. Be careful not to let the epoxy run down into the legs, you only want it on the head and body.
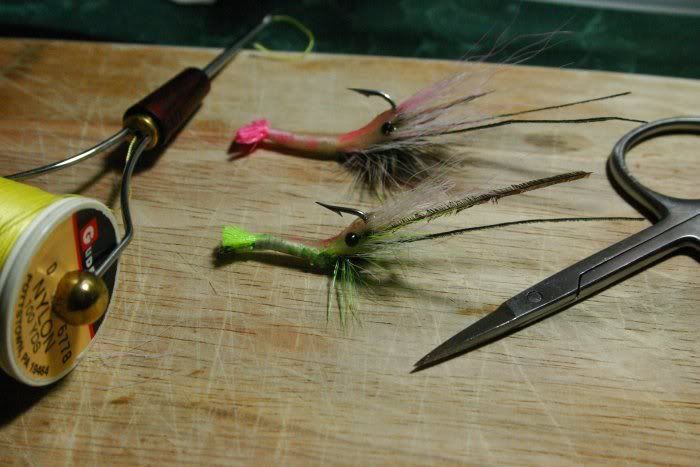
ENJOY!